Unlock the Secret to Irresistible Flavor: Crafting Homemade Salted Caramel Sauce
There are few culinary delights that capture the imagination and tantalize the taste buds quite like the rich, velvety embrace of salted caramel. While store-bought versions certainly have their place, nothing compares to the depth of flavor, the perfect balance of sweet and savory, and the sheer satisfaction of a truly *homemade salted caramel sauce*. This isn't just a topping; it's an experience, a luxurious addition that elevates everything from a simple scoop of ice cream to elaborate desserts. Forget complicated candy-making fears; with the right approach and a few simple ingredients, you can master this decadent treat in your own kitchen.
Why Go Homemade? The Unmatched Appeal
Opting to make your own salted caramel sauce from scratch isn't just about saving a few dollars; it's about an unparalleled culinary journey and superior results.
Unmatched Flavor and Quality
The most compelling reason to embark on this delicious adventure is, without a doubt, the flavor. A homemade sauce allows you to control the caramelization process, achieving a nuanced depth that often eludes mass-produced products. You can dictate the exact level of golden amber hue, which translates directly into a richer, more complex taste. Furthermore, the quality of your chosen ingredients shines through. Fresh, high-fat butter, pure heavy cream, and a good quality sea salt (like flaky Fleur de Sel) make an enormous difference, contributing to a sauce that is both incredibly smooth and bursting with authentic flavor. The delicate dance between the sweetness of the caramel and the subtle punch of salt is perfected when you are the maestro.
Control Over Ingredients and Consistency
When you make it yourself, you know exactly what goes into your sauce. No artificial flavors, no preservatives, just pure, wholesome ingredients. This is a huge advantage for those with dietary preferences or who simply prefer clean eating. Beyond ingredients, you also have complete control over the consistency. Do you prefer a thick, fudgy sauce perfect for dipping apples, or a slightly thinner, pourable drizzle for pancakes? By adjusting cooking times and the amount of cream, you can tailor your *homemade salted caramel sauce* to your exact liking, creating a bespoke condiment that perfectly suits your needs.
The Essential Ingredients and Tools for Homemade Salted Caramel Sauce Success
Crafting the perfect batch of salted caramel sauce doesn't require a specialty store or an advanced degree in patisserie. The magic lies in a few humble ingredients and some basic kitchen equipment.
What You'll Need: The Star Players
*
Granulated Sugar: The foundation of our caramel. Don't be tempted by brown sugar for a classic caramel, as the molasses in brown sugar can interfere with the pristine caramelization process.
*
Water: For the "wet method" of caramelization, which we recommend for beginners as it helps prevent crystallization.
*
Heavy Cream: This is crucial for achieving that luscious, creamy texture. Full-fat heavy cream (at least 36% milk fat) is non-negotiable for the best results. Make sure it's warm before adding to the hot caramel to prevent seizing.
*
Unsalted Butter: Good quality unsalted butter adds richness, gloss, and a wonderful depth of flavor. Like the cream, it should be at room temperature or slightly warmed.
*
Sea Salt: The "salted" in salted caramel! Flaky sea salt, such as Fleur de Sel or Maldon, is highly recommended for its delicate texture and superior flavor. It disperses beautifully and provides little bursts of salinity. Fine sea salt can also work, but use slightly less.
*
Vanilla Extract: Optional but highly recommended, a splash of pure vanilla extract at the end adds another layer of warmth and complexity.
Essential Equipment for a Smooth Process
*
Heavy-Bottomed Saucepan: This is arguably the most important tool. A heavy bottom distributes heat evenly, preventing hot spots that can burn your sugar. Stainless steel is preferred over non-stick as it allows you to better see the caramel's color development.
*
Whisk: For combining ingredients and later, incorporating the cream and butter.
*
Heat-Proof Spatula or Wooden Spoon: Useful for scraping down the sides of the pan and stirring the finished sauce.
*
Measuring Cups and Spoons: Accuracy is key in baking and candy-making!
*
Candy Thermometer (Optional but Helpful): While you can make caramel by eye, a candy thermometer takes the guesswork out, ensuring you reach the perfect temperature for optimal flavor and texture (typically 340-350°F or 170-175°C).
Mastering the Art of Making Homemade Salted Caramel Sauce
The process of making caramel can seem intimidating, but with a clear understanding of the steps and a bit of patience, you'll be pouring golden liquid gold in no time. We’ll focus on the "wet method," which is generally more forgiving for home cooks.
The Wet Method: Your Best Bet
The wet method involves dissolving sugar in water before boiling it to caramelize. The water helps the sugar crystals dissolve evenly, reducing the risk of crystallization (where the sugar turns grainy instead of smooth). Once the water evaporates, the sugar continues to cook and caramelize.
Step-by-Step Instructions to a Perfect Sauce
1. **Prepare Your Ingredients:** Measure out all your ingredients before you start. Warm your heavy cream and butter gently in a separate small saucepan or microwave; this prevents the hot caramel from seizing or splattering violently when they're added.
2. **Combine Sugar and Water:** In your heavy-bottomed saucepan, combine the granulated sugar and water. Stir gently with a heat-proof spatula or wooden spoon just until the sugar is moistened. Do not stir after this point.
3. **Caramelize the Sugar:** Place the saucepan over medium-high heat. Let the mixture come to a boil. The sugar will dissolve and then start to bubble vigorously. Resist the urge to stir! Stirring can introduce air, causing sugar crystals to form. If you see sugar crystals forming on the sides of the pan, gently brush them down with a clean, wet pastry brush.
Watch the color carefully. After several minutes, the mixture will begin to turn a light amber around the edges, then gradually darken towards the center.
4. **Achieve the Perfect Color:** Continue to cook until the sugar syrup turns a rich, deep amber color, similar to a copper penny or dark maple syrup. This stage happens quickly, so pay close attention. If you're using a candy thermometer, aim for 340-350°F (170-175°C). The darker the caramel, the deeper and more complex its flavor will be, but be careful not to burn it – burnt sugar is bitter and irreparable. Remove the pan from the heat immediately when it reaches your desired color.
5. **Carefully Add Cream and Butter:** This is the most crucial step. Slowly and carefully pour the warmed heavy cream and butter mixture into the hot caramel while whisking continuously. The mixture will bubble up violently and steam, so be cautious! Keep whisking until smooth. The caramel will thicken slightly as it cools.
6. **Stir in Salt and Vanilla:** Add the sea salt and vanilla extract (if using) and whisk until thoroughly combined. Taste and adjust the salt if necessary – remember, it's "salted" caramel!
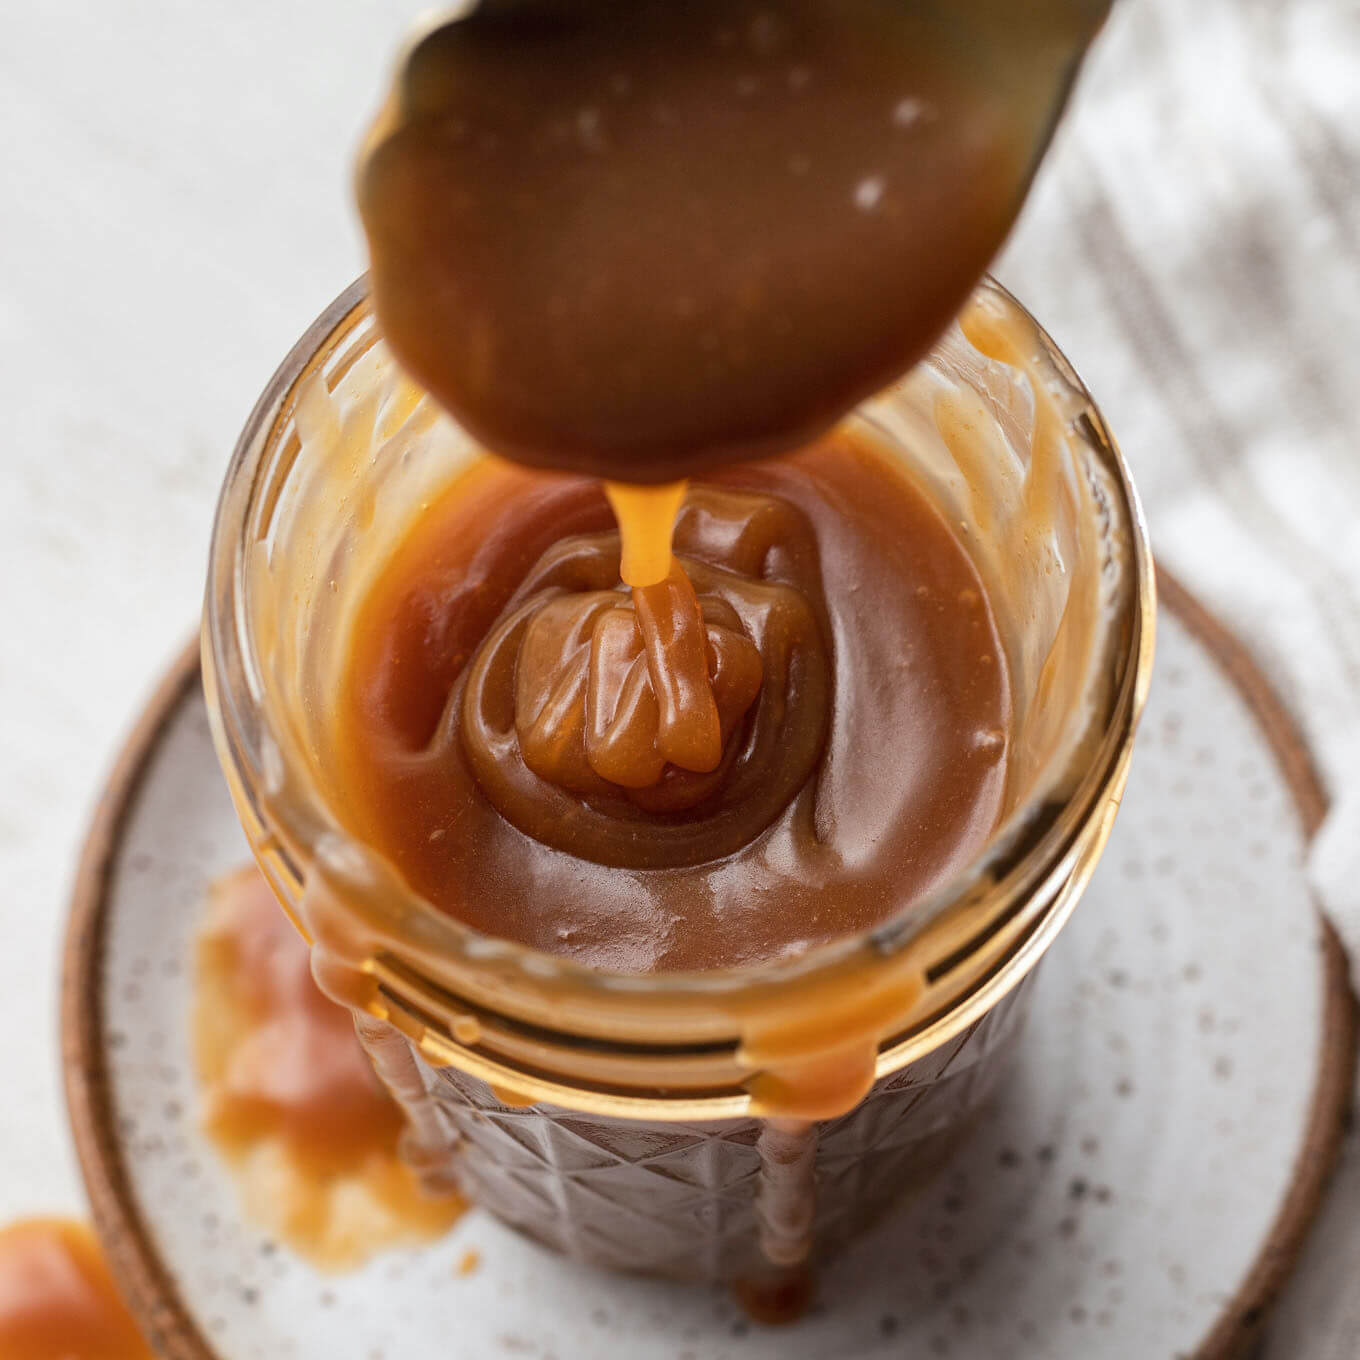
7. **Cool and Store:** Pour the *homemade salted caramel sauce* into a clean, heat-proof jar. Let it cool completely to room temperature before covering. As it cools, it will continue to thicken to that perfect, spoonable consistency.
Troubleshooting Common Caramel Mishaps
Even experienced bakers can encounter issues with caramel. Don't despair if your first attempt isn't perfect! Here are solutions to common problems.
Crystallization Prevention and Fixes
Crystallization is when your smooth caramel turns grainy and sugary. It happens when undissolved sugar crystals get agitated and cause the entire batch to revert to a crystalline state.
* **Prevention:** Use a clean pot. Don't stir once the sugar and water are boiling. If crystals appear on the sides of the pan, use a wet pastry brush to wash them down into the syrup.
* **Fix:** If your caramel crystallizes before you add the cream, you *might* be able to save it. Add a few tablespoons of water to the pan and gently heat, stirring until the crystals dissolve. Re-boil and proceed with caution. If it happens after adding cream, unfortunately, it's often beyond salvage.
Overcooked vs. Undercooked Caramel
* **Undercooked:** If your caramel is too light in color, it will taste overly sweet and lack that characteristic deep, complex caramel flavor. There's no fix for this once the cream is added, but for future batches, simply cook it a bit longer.
* **Overcooked/Burnt:** Burnt sugar is undeniably bitter and cannot be saved. If you accidentally burn it, discard the batch and start fresh. It's better to err on the side of a slightly lighter caramel than a bitter one. This is why watching the color diligently is so important!
How to Use and Store Your Delicious Creation
Once you’ve mastered your *homemade salted caramel sauce*, the possibilities for enjoyment are endless.
Versatile Ways to Enjoy Your Salted Caramel
This rich, buttery sauce is incredibly versatile.
* **Ice Cream Topping:** The classic use! Drizzle generously over vanilla, chocolate, or even coffee ice cream.
* **Coffee & Drinks:** Stir a spoonful into your morning coffee, latte, or hot chocolate for a gourmet touch.
* **Dessert Drizzle:** Elevate brownies, cheesecakes, apple pies, bread puddings, and crumbles with a luscious ribbon of caramel.
* **Fruit Dip:** A delightful dip for sliced apples, pears, or bananas.
* **Baking Ingredient:** Incorporate it into frostings, fillings for cupcakes, or swirl it into blondies for a gooey center. If you're looking to dive deeper into variations or advanced techniques for your
homemade salted caramel sauce - Article 2 offers further insights.
* **Gift Idea:** Poured into an attractive jar, it makes a thoughtful and delicious homemade gift. For even more inspired uses and specific dessert ideas featuring your luscious
homemade salted caramel sauce - Article 3 is a fantastic resource.
Storage for Freshness
Store your cooled *homemade salted caramel sauce* in an airtight container or jar in the refrigerator. It will thicken considerably when chilled. To use, simply warm it gently in the microwave in 15-30 second intervals, stirring in between, or in a small saucepan over low heat until it reaches your desired pourable consistency. It typically lasts for 2-3 weeks in the refrigerator, though it's so delicious, it rarely lasts that long!
Crafting homemade salted caramel sauce is a rewarding culinary endeavor that promises incredible flavor and endless possibilities. With practice, patience, and these practical tips, you'll soon be confidently creating batches of this golden elixir, delighting yourself, your family, and your guests. So, gather your ingredients, clear your counter, and prepare to embark on a sweet and salty journey that will undoubtedly become a treasured kitchen skill.